The problem with the previous solution is that you have to load the whole stream of image data in your drawing, making it consume your system memory and waiting for loading times.
In this example, we will use a GIS mapping software to export a georeferenced TIFF image file. The new file will contain projection data and will be ready to be inserted in a GIS or CAD drawing space.
It is necessary to point out that you should not use GeoTIFFs by themselves for precision topographic design projects and they should be accompanied by on site triangulation measurements in order to validate their accuracy. They are intended as a complementary tool and should not replace geodetic measurements. Additionally, the date of aerial/satellite photography is important because the landscape tends to change with the passage of years as new construction projects are created or old ones are torn down.
I am going to use Global Mapper 12 (also known as dlgv32 Pro in the U.S.A.) in this example. Start the program and go to Tools -> Configure as seen below.

From the Configuration window that appears, select the Projection tab. Go to the field "Projection" and input the projection of the WMS data you are going to use. Following the previous post, I am going to use the Greek Cadastre data so I need to input Greek Grid. Make sure to validate your Planar Units and Parameters before pressing the OK button to continue.

Back at the main screen, go to File -> Download Online Imagery/Topo/Terrain Maps.This will establish the WMS connection.

Now click on the "Add WMS Data Source" button if the WMS server you'd like to use is not already listed on the "Select Data Source" list.


The "Edit Online Source" window that appears allows you to categorize the data source you loaded for future reference. Press the OK button to continue.

Your data has been loaded and if you have set up the projection correctly, you will see a grid overlayed. Be sure to check the numbers to see if they match those of the grid you selected.
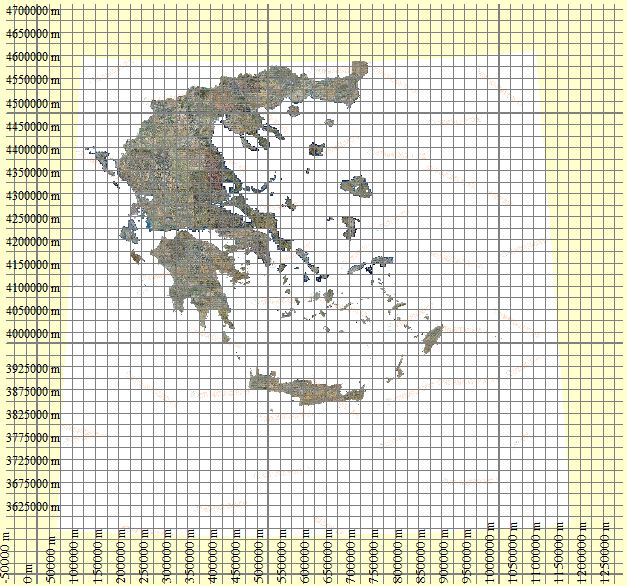
Zoom in to the area of interest. Your level of zoom does not matter, as long as you can see your area as the exporting of the GeoTIFF is independent and will be based on the size of the sampling pixel and not on your current screen display.Select the "Digitizer" button (looks like a pen) and then the Create Rectangular\Square Area option.

Click on your screen and drag the tool to create a rectangle. A "Modify Feature Info" window will appear and you will see some metadata that will be attached to the geographic feature you created such as name, area and perimeter. Enter a name and press the OK button to continue.

Now click on the "Select Feature Class" button to the left of the "Digitizer" and then click on the rectangle you created to select it. The properties of the feature will pop out.

Keep your selection active and go to File -> Export Raster/Image Format.

From the GeoTIFF Export Options go to "Sample Spacing/Scale" and set a value slightly less or equal to the pixel size of your WMS data. Be sure to tick on the "Generate TFW (World) File" and "Generate PRJ File" in order to create the georeference data that will allow you to import the GeoTIFF in another software.

Now choose the "Export Bounds" tab from the same window and choose the "Crop to Selected Area Feature(s)" option. This will crop the image to the boundaries of your rectangle and without it the whole WMS database may be exported. Press the OK button to continue.

You will be asked on a folder location to save your data in. Exporting may take some time and the size of the file created will greatly depend on the sampling size you chose.
To insert your GeoTIFF in Autocad Map or Raster Design, enter _IINSERT in the command line or choose the Insert button from the Raster Design ribbon. Browse for the GeoTIFF you saved and click OK.
The "Correlation source" should be "World File Correlation" and you should not tamper with the rest of the options as they are drawn directly from the .tfw file. Press twice on "Next" and once on "Finish" and then type ZOOM EXTENTS in the command line to see your georeferenced image. To unload or detach it, you should use the XREF command, right click on the file and choose your option.


Voila! Thanks for reading.

